ERPNext Walkthroughs Stock
Move stock between two stores
Transfer an item from one store to another with a Stock Entry, then check the stock in each store.
Step 1 of 8
Start a stock transfer
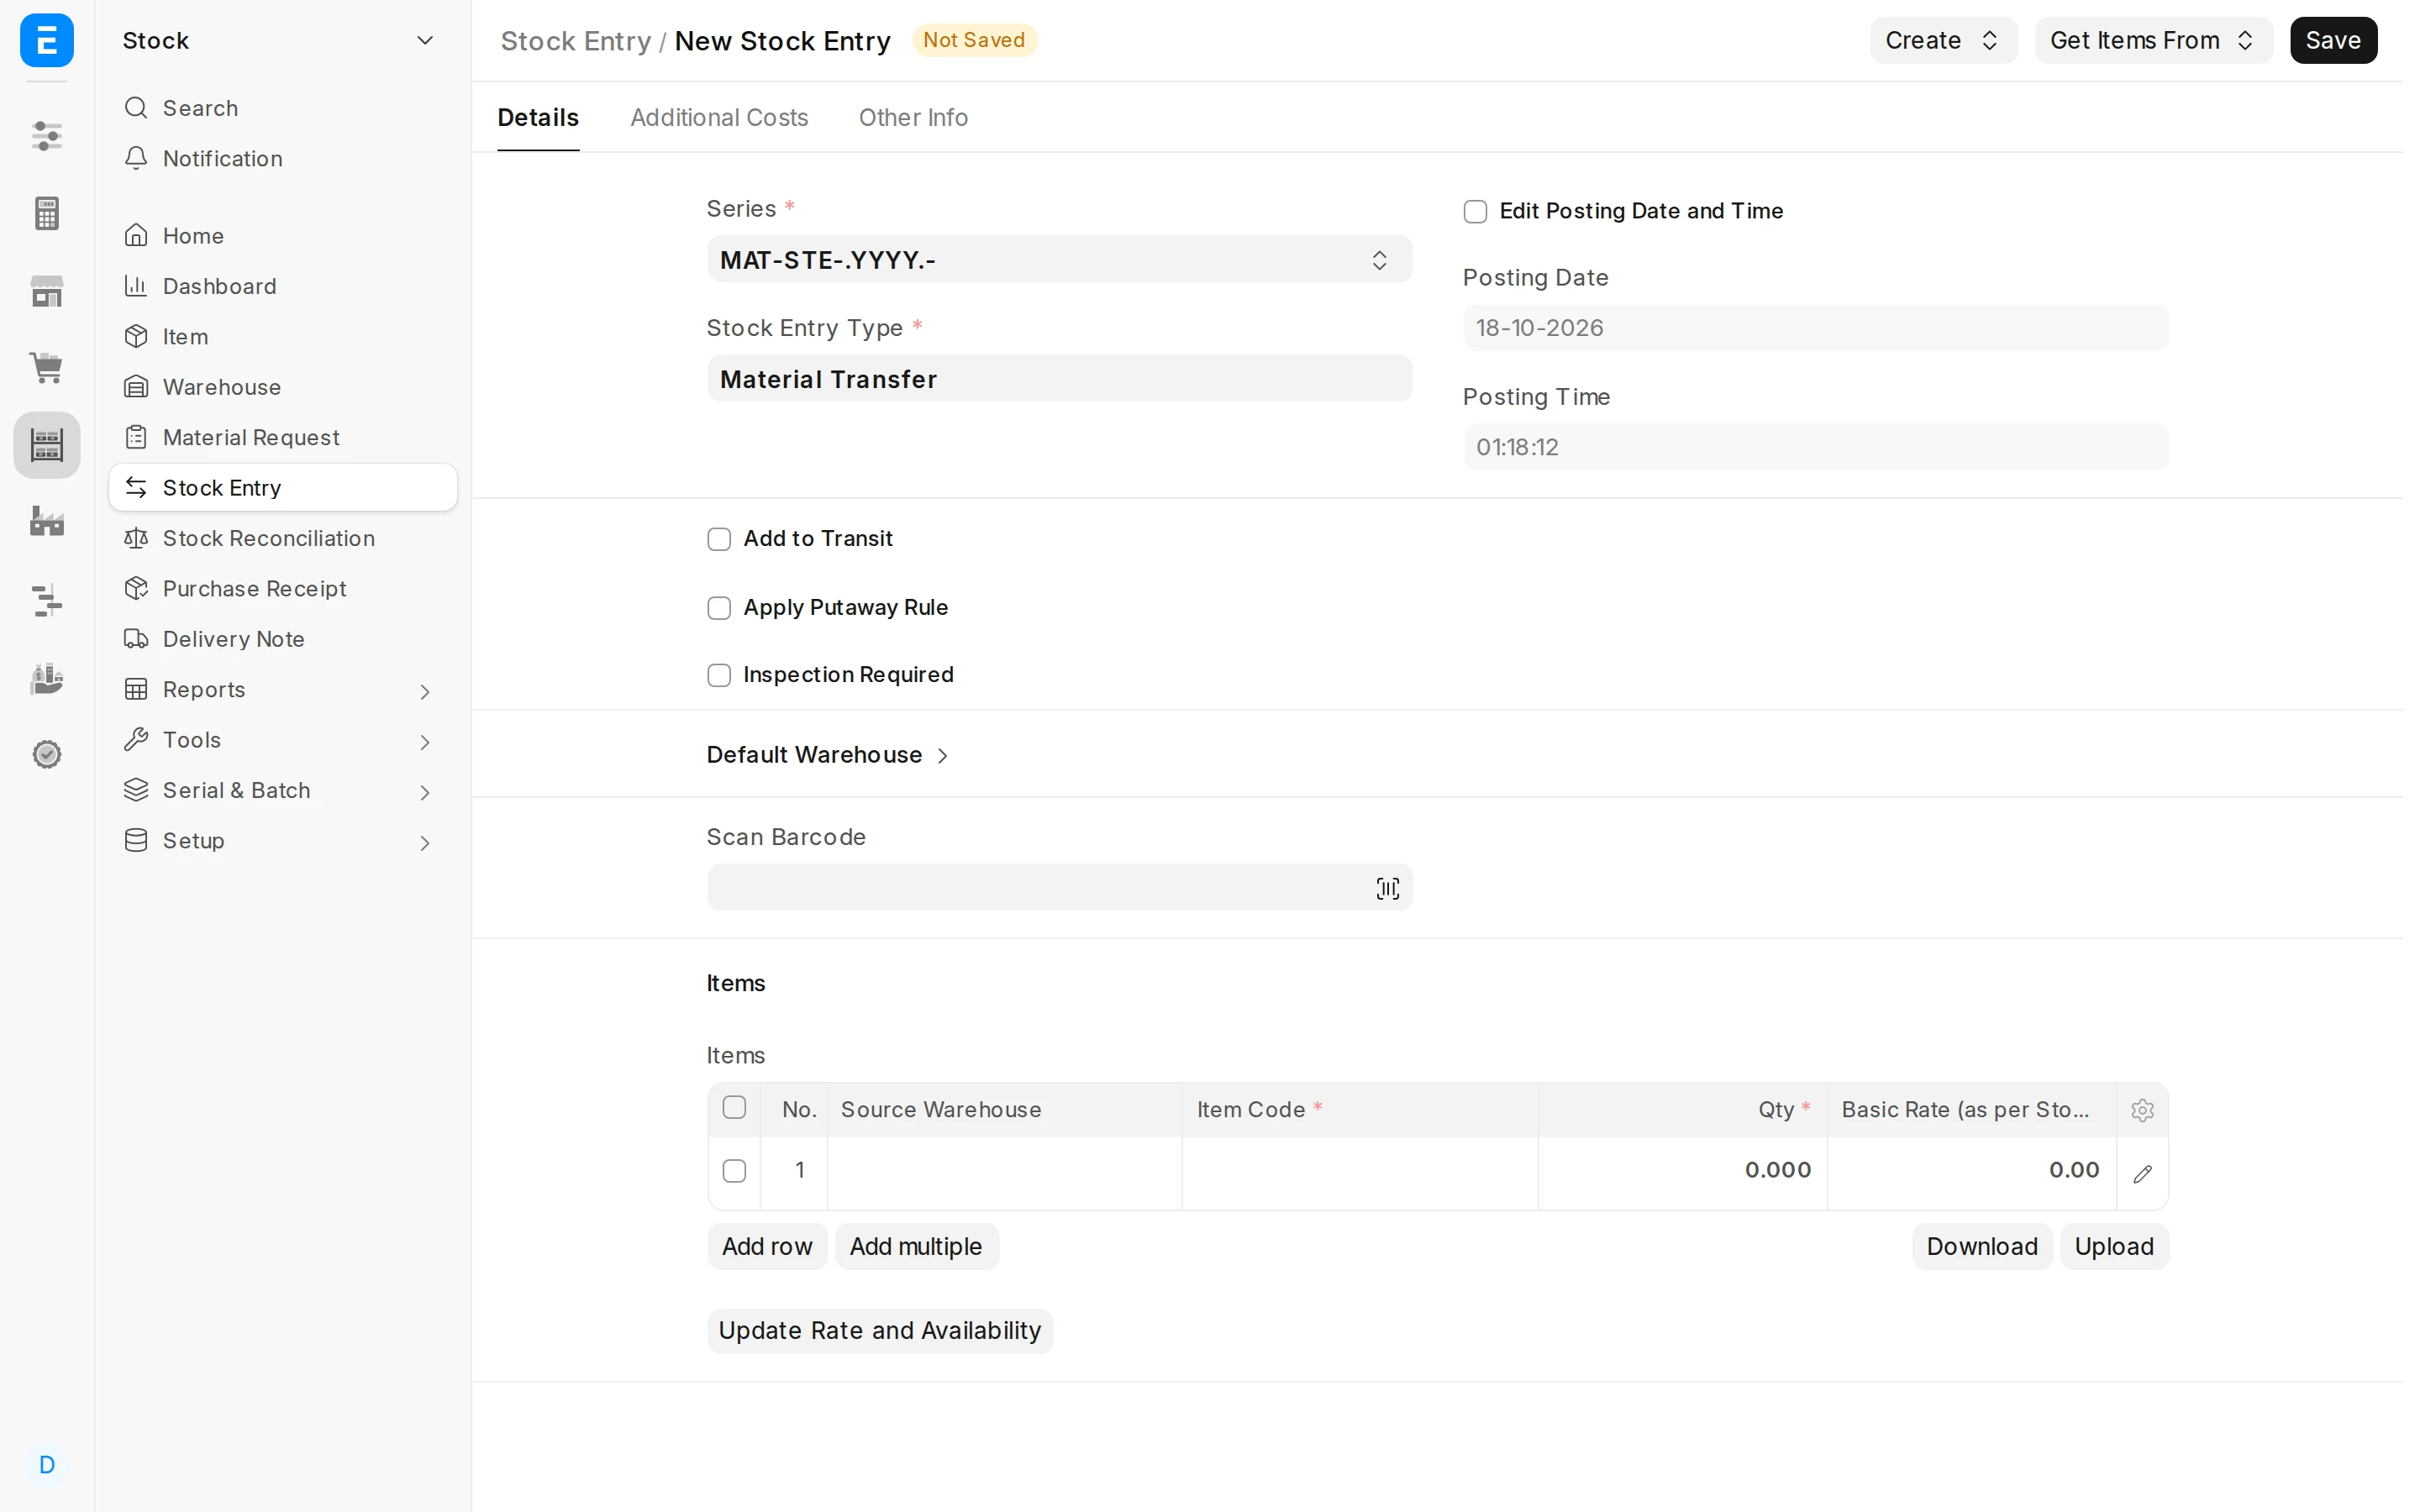
Open a new Stock Entry and set Stock Entry Type to Material Transfer. It moves goods between your own stores.
Arrow keys or space also move through the steps.
Steps
-
Open a new Stock Entry and set Stock Entry Type to Material Transfer. It moves goods between your own stores.
-
Default Source Warehouse is where the goods leave from, Default Target Warehouse is where they arrive.
-
Add the item and the quantity to move in the Items table. Each row takes the source and target stores from the top.
-
Save with Ctrl+S. It stays a Draft: no stock has moved yet.
-
Click Submit and confirm. Submitting is what takes the goods out of the source store and puts them into the target store.
-
The entry is now Submitted. It cannot be edited; to undo a transfer you cancel it, or move the goods back with another entry.
-
Open the Stock Projected Qty report for the item. It has one row per store, and Actual Qty is what is physically in that store now.
-
The Stock Ledger lists every movement of the item. The newest lines show the transfer: Out Qty in the source store and In Qty in the target store.